Massimo Banzi, inventor of Arduino, talks about maker revolution in TED talk.
The kits are designed for inventing
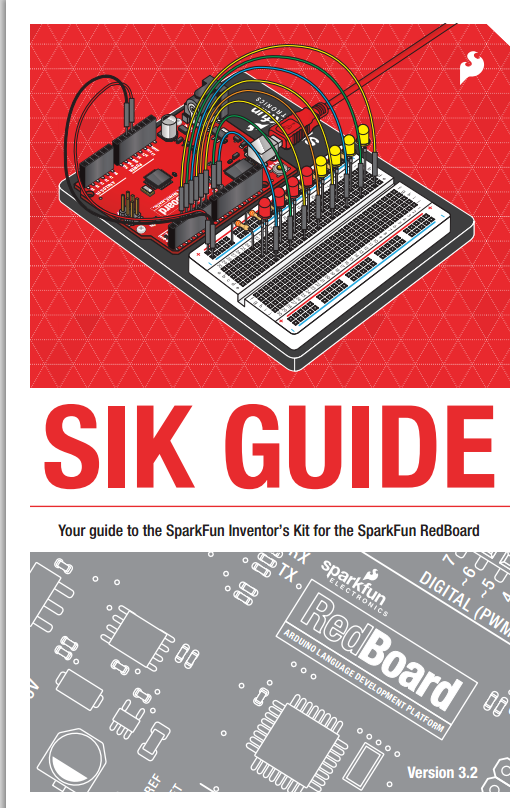
https://nicegear.co.nz/electronics-gear/sparkfun-inventors-kit-v32/
Adafruit are leaders in the Maker Movement
https://www.adafruit.com/category/17
Link to Wikipedia article on open source hardware
The maker culture explained
Dunedin's makerspace
Hackaday uses existing stuff to repurpose into something new.
Atmel, big US microprocessor company, embraces Maker Movement